Description
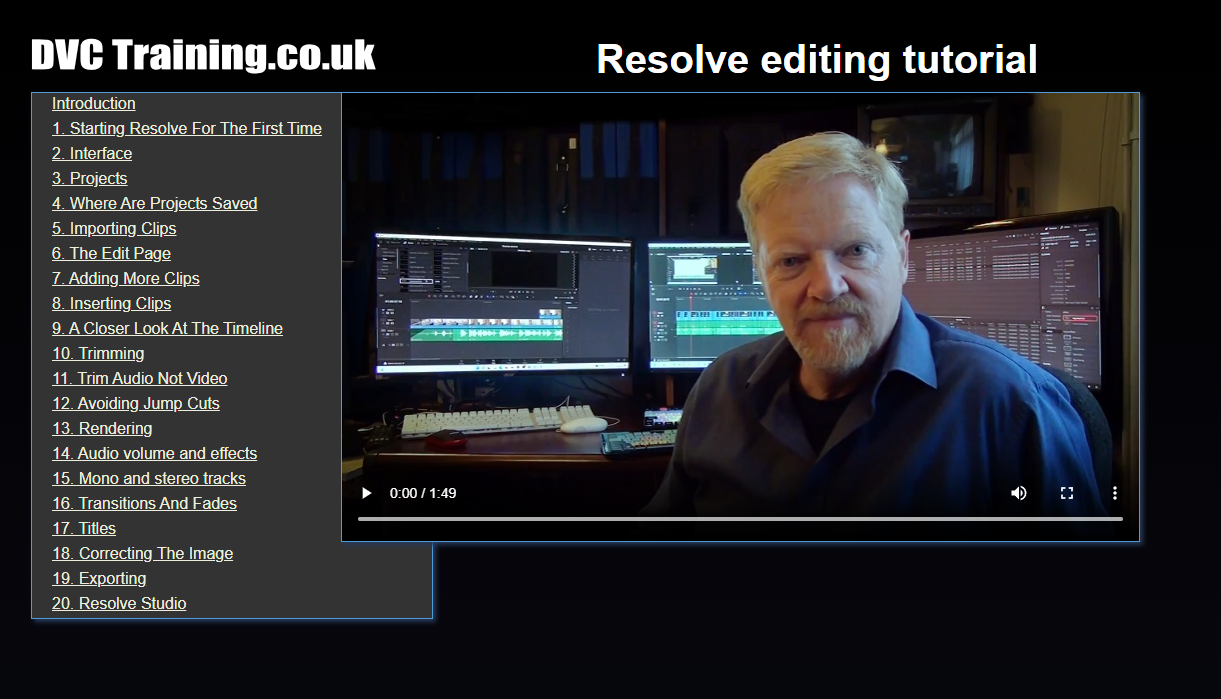
This tutorial is all about editing in Davinci Resolve. It lasts 3 hrs 40 mins and has 20 different chapters – as detailed below.
All the chapters are available for free from my YouTube Channel, and the content is the same. I have added the option to buy all the chapters together, with a menu to help you navigate between them, to make it easy for people to download and keep the tutorial to refer to in the future. If you buy this tutorial it will also encourage me to make more in the future.
To use the tutorial, download the zip file from the link you will get after ordering and unzip it wherever you would like to store the tutorial. Then double click on the “Resolve editing basics.html” file in the route of the folder and it will open in a web browser.
Tutorial contents
- Introduction
- Starting Resolve for the 1st time
This chapter takes you from opening Resolve for the very first time after install and some basic things you should set up. This does inlcude how to get a Blackmagic device working for video output. - Resolve’s interface
Introducing the interface and explain the windows and how they can be arranged on single or dual screens. - Projects
Setting up your first project and saving default settings. - Where are projects saved?
Resolve projects are saved in a database, so where is it, and how do you backup, transfer and restore projects? - Importing clips
My edit uses AVCHD but Resolve now supports many formats. Here I look at importing my and out clips. - The edit page
Adding the first clips and moving around the edit page. - Adding more clips
Now I start putting the edit together. - Inserting clips
I now lay out the whole edit, inserting missing shots and arranging clips. - A closer look at the timeline
A closer look at the details of the timeline itself. - Trimming
There are loads of ways to trim clips – very similar to other programs. - Trim audio not video
An essential part of editing – getting the audio and video cuts in different places without unlinking the clips. - Avoiding jump cuts
Jump cuts were once a complete no-no – although now I see them frequently in YouTube videos. However, they should be avoided. Normally I use a cut-away but Resolve also has a “smooth cut” – which is like a Morph cut in Premiere. Here I look at both options. - Rendering
Resolve calls this caching and it works in the background – but you have 3 different options from which to choose. - Audio volume and effects
Changing the volume of clips and adding audio effects to the clip or track – without going anywhere near the Fairlight page. - Mono & stereo tracks
Resolve can have many different types of tracks and how you set it up will affect on which channels your sound is heard. - Transitions and fades
Adding a video or audio transition is surprsingly easy. - Titles
Resolve can do titles in two ways – either simple or more complicated, animated titles using the Fusion page. I am not looking at the Fusion page in this tutorial but you can access some aspects of Fusion titles with no knowledge of Fusion. - Correcting the image
Resolve is primaruly a grading program and I do not look at grading at all in this series. This chapter covers basics of rotating and repositioning clips plus some very basic colour correction. - Exporting
Finally I look at exporting a clip – in this case an MP4 file – from Resolve. You cannot make DVD or Blu-ray with Resolve and it does not even make the right formats to do. In this chapter I do not delve into all the possibly varieties and how to make the right files for these outputs. Thsi chapter covers the basics of how to use Resolve’s deliver page and making the kind of file you are likely to use all the time. - What’s in Resolve Studio?
This chapter is about ½ hour and looks at many of the advantages of buying Resolve Studio, rather than using the free version which I have been using for the rest of the tutorial.

